Have you ever found yourself in the unfortunate situation of staring at a broken smartphone screen, wondering what to do next? It’s a common dilemma that can leave you feeling frustrated and confused. But don’t worry! I’m here to guide you through the process of fixing that pesky screen, whether you want to go the DIY route or opt for professional help.

Understanding Your Smartphone Screen
Before you jump into the nitty-gritty of the fixing process, it’s crucial to understand what you’re dealing with. Modern smartphones typically have two main components when it comes to screens: the digitizer and the display.
What Are the Components?
-
Digitizer: This is the top layer that detects touch. It converts your fingers’ motions into digital signals your phone can interpret.
-
Display: This is the actual screen that shows you images, videos, and texts. It’s responsible for the visual quality you see when you use your device.
When you crack your screen, it’s often a combination of both components that gets damaged. Knowing how these parts work together can help you understand the severity of the damage.
Assessing the Damage
So, the first step you need to take is to assess the level of damage to your smartphone screen. This will help you determine the best course of action moving forward.
Look for These Signs
- Cracks: Minor cracks might only affect the glass, while deep cracks might impact the digitizer or display.
- Touch Response: If areas of your screen don’t respond to touch, the digitizer may be damaged.
- Display Issues: Look for discoloration, lines, or flickering. These are signs of display damage.
Once you’ve done a thorough evaluation, you can decide whether it’s a simple fix or if you need professional assistance.
DIY Fixes for Minor Damage
If the damage is minor, you might consider a DIY approach. Here are a few methods that have worked for others.
Temporary Fixes
- Screen Protectors: Applying a screen protector can hide some cracks and prevent the damage from spreading.
- Tape: In a pinch, you can use clear tape to keep the crack from getting worse until you find a more permanent solution.
Tools You Might Need
If you’re planning on getting more hands-on, here are some tools you might need:
| Tool | Purpose |
|---|---|
| Screwdriver | To open up your smartphone case |
| Plastic Pry Tools | To gently separate components |
| Tweezers | For maneuvering small parts |
| New Replacement Parts | If you need to swap out damaged components |
Fixing a Cracked Screen
If your assessment shows that a screen replacement is in order, and you’re feeling up for a DIY repair, follow these steps. Make sure you’re comfortable with the idea of disassembling your phone, as this can void warranties.
Step 1: Gather Your Supplies
Before you begin, gather all the necessary supplies. You’ll need new glass and/or digitizer, tools from the table above, and possibly some adhesive.
Step 2: Power Down Your Device
This one is crucial. Make sure to turn off your phone completely before you start disassembling it to avoid any short circuits.
Step 3: Remove the Back Cover
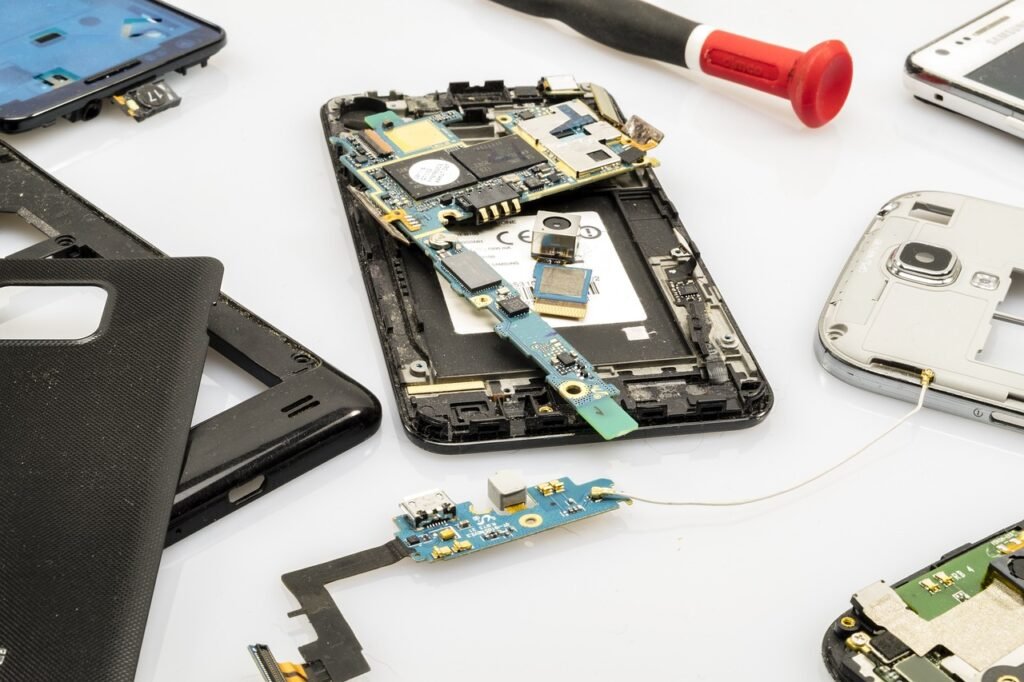
Using your screwdriver, carefully remove the screws holding the back cover in place. Some smartphones may have a removable back, while others require you to pry it off gently.
Step 4: Disconnect the Battery
Once you have access to the inside of your phone, locate the battery and disconnect it. This will add an extra layer of safety as you continue to work.
Step 5: Remove the Damaged Screen
Carefully pry the old screen off using your plastic tools. Take your time here to avoid damaging other components.
Step 6: Install the New Screen
Once the old screen is removed, align the new screen and snap it into place. Make sure to reconnect any cables that were detached during the removal process.
Step 7: Reassemble Your Phone
Put the back cover on and reconnect the battery before powering on your device. If everything went smoothly, your smartphone should be as good as new!
Caution
Always keep in mind that DIY repairs can be risky, especially if you’re unfamiliar with your device’s inner workings. If you’re uncertain at any point, it’s best to seek professional help.

When to Seek Professional Help
If the damage to your smartphone screen is beyond what you feel comfortable fixing, don’t hesitate to reach out for professional assistance. There are several options available.
Local Repair Shops
Look for a local repair shop specializing in smartphone fixes. They often offer faster service and can handle a wide array of issues.
Manufacturer Repair Centers
If your smartphone is still under warranty, the manufacturer may offer repair services. This is generally the safest route, especially if you don’t want to void your warranty.
DIY Kits from Online Retailers
If you’re up for some exploration, many online retailers sell DIY repair kits specifically tailored for different smartphone models. They often include tools and detailed instructions, making the process more manageable.
Cost Considerations
The cost of repairing a smartphone screen can vary greatly depending on the nature of the damage and where you go for repairs.
Breakdown of Average Costs
| Repair Method | Estimated Cost |
|---|---|
| DIY Parts and Tools | $50 – $200 |
| Local Repair Shop | $100 – $300 |
| Manufacturer Repair | $150 – $400 |
Make sure to weigh the costs against the value of your device. If the repair cost approaches or exceeds the value of the phone, you might want to consider upgrading to a new device instead.

Preventing Future Damage
Once you’ve gone through the process of fixing your screen, it makes sense to take steps to prevent future damage.
Tips for Protection
-
Screen Protectors: Invest in a high-quality screen protector. They can absorb a lot of impacts and help avoid shattering.
-
Cases: Use a sturdy phone case that offers cushioning around the corners, where most drops occur.
-
Mindfulness: Just being more aware of where you place your phone can significantly reduce its chances of falling or being damaged.
Conclusion
So, now you’re equipped with the knowledge to decide how to handle a broken smartphone screen. Whether you choose a DIY fix, seek professional help, or even consider a new phone, you have options.
Think about the condition of your device and your comfort level with repairs. It’s always best to act quickly. The sooner you address the issue, the less likely you are to face further complications.
In the end, every smartphone owner faces the risk of a cracked screen at some point. But with these tips and tricks, you’ll be ready when that day comes. Remember to take care of your phone, and it’ll take care of you just fine!
